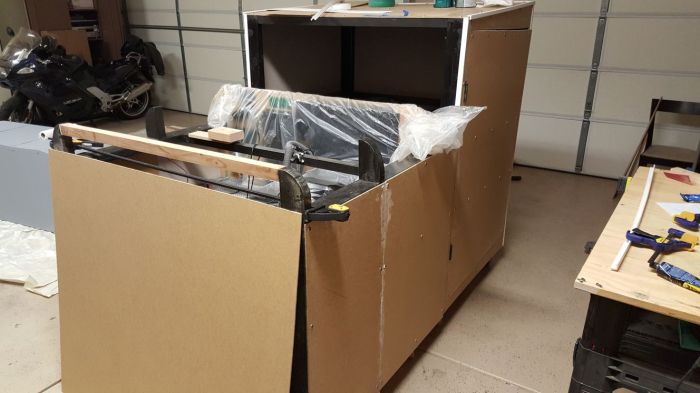
The past few weeks have been spent finishing the exterior of this CS-1 Stallion. It is in this stage where I find out how straight all my framing is (or isn’t) – in theory all the side panels should be nice clean rectangles that attach and align perfectly.
The reality was a little different. In the end, the best method I found to finish the exterior was to use large pieces of cardboard as fake side panels, tape them roughly in place, and mark out the exact edges. Then, I used these as templates for cutting the fiberboard.
This gave me fiberboard pieces that all fit together pretty well, even though some were slightly skewed in shape.
Cowling
The panel for the “cowling” gave me a few problems. Looking at the plans, it looks clear that the intent is to have a curved panel over the “engine compartment”, and the four curved 2X4 ends provide the framing for that. However, fiberboard is just not flexible enough to bend that much. I guess I didn’t really think about how this was supposed to work until I actually tried it.
I ended up resorting to the trusty Polywall plastic sheeting (the same stuff I used for the instrument panel overlay ). Although it has a little texture, whereas the fiberboard is totally smooth, I figured the paint would even it out a little, and I could live with the result.
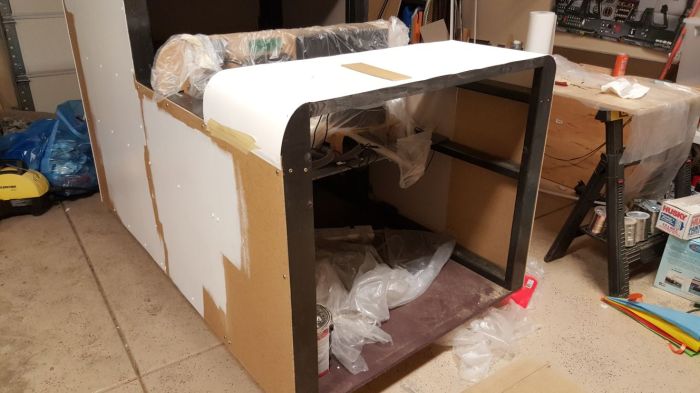
Since the Polywall is pretty flimsy, I had to add two more horizontal lateral beams of 2X2 to support it. Luckily I had plenty left over. The Polywall section was then nailed at each end and all along these sections of 2X2. In end, it looked pretty good. And as long as I don’t go placing the week’s grocery bags on top of it or something, it is strong enough for its purpose.
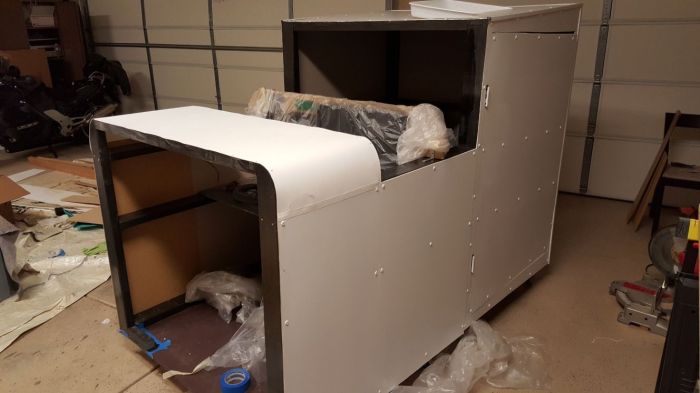
Nose
The panel that covers the front (which I’ve been calling the “nose”) was last. It was easy enough to cut this to shape. However, instead of screwing it to the frame like all the other panels, I glued some sections of 2X2 to the inside face so that it made a very snug fit with the frame: with just those in place, the panel would hold itself in position just by friction, while still being easy to pull off.
To make it a little more robust, I added some magnetic closet door latches to the frame and the nose panel to hold it in place a little better, and finally added a couple of handles to facilitate removing and replacing it.
The end result means I can just pull this panel off, set it aside, and have full access to the interior section where all the computer hardware will sit. Very useful.
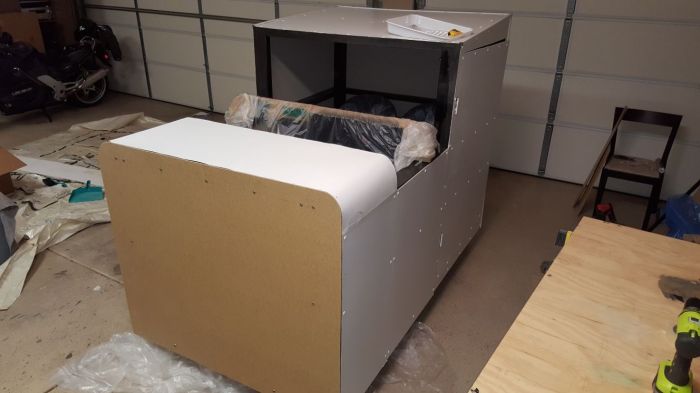
Paint
I painted the entire exterior with a high gloss white latex paint. I plan to add more color to that later, but for now this is it. It’s time to start working on some of the interior features. Stay tuned!
